Contact Us

If you still have questions or prefer to get help directly from an agent, please submit a request.
We’ll get back to you as soon as possible.

Please fill out the contact form below and we will reply as soon as possible.

  • Home
  • Full Platform
  • Quoting & Shipment Overview
  • Quoting & Booking

How to Create a Shipment Request to an Inland Location

Written by Bonita Fowlersmith

Updated at July 27th, 2024

Contact Us

If you still have questions or prefer to get help directly from an agent, please submit a request.
We’ll get back to you as soon as possible.

Please fill out the contact form below and we will reply as soon as possible.

  • FAQs
    General Operation Shipment Tracking Billing Booking & Quoting Customs & Compliance
  • Full Platform
    Dashboard & Insights Quoting & Shipment Overview Customs Communications Individual Shipment Teams & Partners
  • Shippabo View
    Dashboard & Insights Quoting & Shipment Overview Communication Individual Shipment Teams & Partners
  • What's New
    2024 January 2025 April 2025
  • Glossary
    General Shipping Terms Destination Related Terms
+ More

Table of Contents

Step 1: Rate Request Step 2: Shipment Information

This guide will show you how to create a shipment request to an inland location.


Step 1: Rate Request

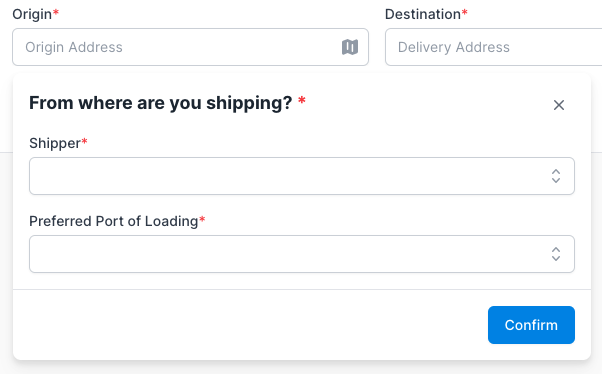
You'll be prompted to enter some basic details for your shipment, such as: 

Origin: Shipper & Port of Loading

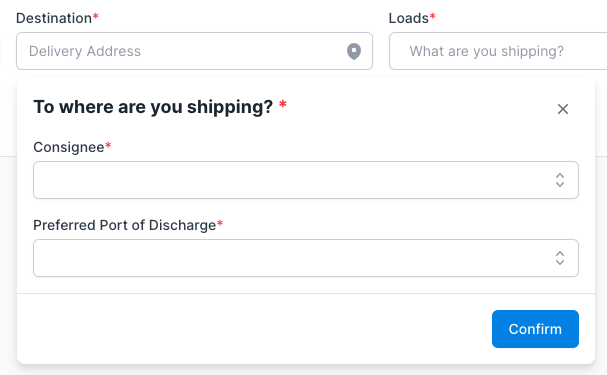
Destination: Consignee & Port of Discharge. 
Note: If you would like your shipment quoted to an inland location, please enter that location in the “Preferred Port of Discharge” section. For example, if you'd like your shipment quoted to Chicago as the final port, enter Chicago in this field. 

Loads: Ocean or Air Freight, Cargo Details

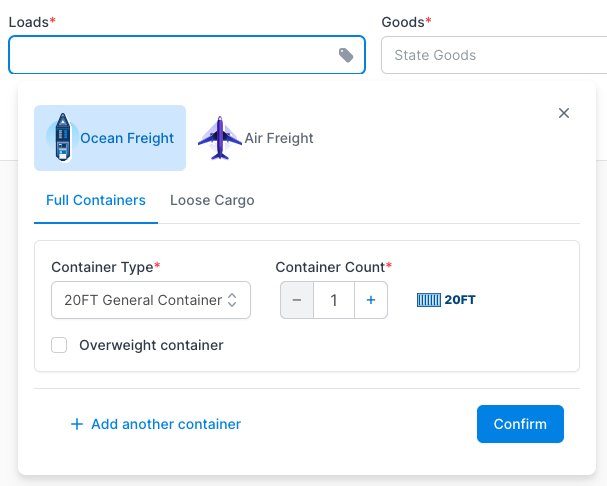
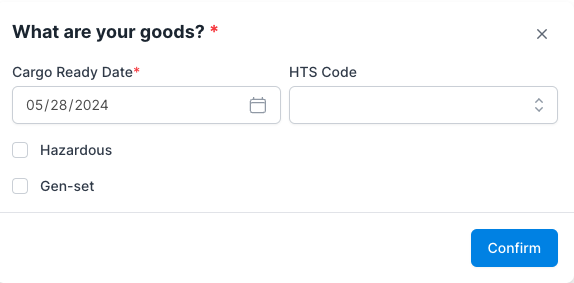
Goods: Cargo Ready Date, HTS Code, and Any other relevant details

Once you've entered all of the needed information, press Continue. 


Step 2: Shipment Information

You'll now be prompted to confirm if you have any additional information for your shipment, such as Incoterms, Pickup and delivery locations, Preferred delivery window, etc. 

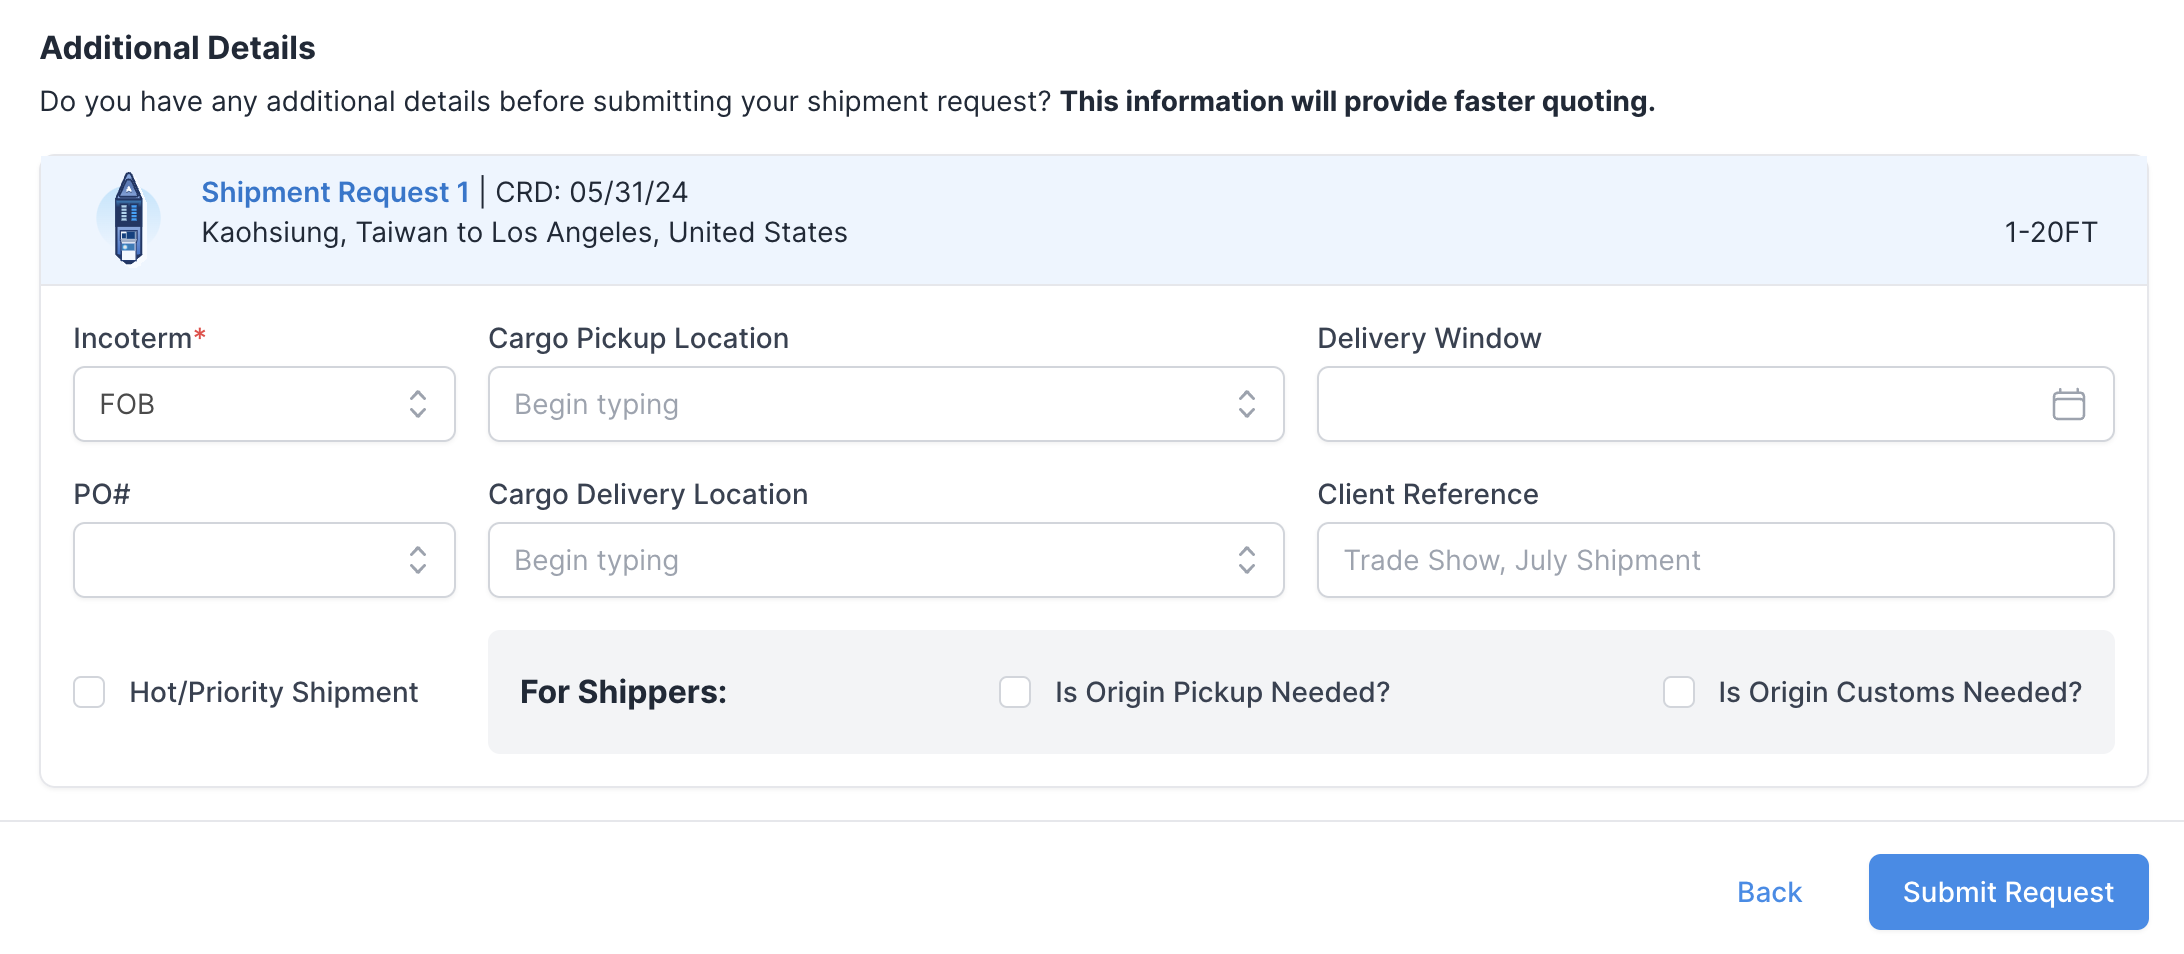
Once you've made your selections, press Submit Request!


You'll now see a notice letting you know that you've successfully created your shipment request. 


Your shipment will be assigned a Shippabo ID number, and will appear on your screen within the Shipment Requests section. 

brief unnamed

Was this article helpful?

Yes
No
Give feedback about this article

Related Articles

  • Updating your Cargo Ready Date
  • How to add a Pickup Number
Shippabo Header Logo
Shippabo helps businesses optimize their logistics management with a machine-learning platform, integrated services, and real-time insights.

Quick Links
Platform
Forwarding Services
Company
About
Career
Contact
Resources
Knowledge Base
Case Studies
Ebooks
Blog

© 2023 Galleon Technology, Inc.
All rights reserved
Terms of Use | Privacy Policy | 沪ICP备2023099189号

Visit facebook Visit twitter Visit linkedin Visit youtube
Expand