Container Overview List
Table of Contents
On the main navigation bar within the platform, you'll encounter an option labeled 'Containers'. This feature allows you to view your shipments at a container level, offering a more detailed perspective and enabling actions that are specific to each container. Now, let's delve into some of the functionalities available on your container overview page.
To access your containers list, select Containers from the main navigation bar.

At first glance, the page might seem visually and functionally akin to your shipments page. However, the primary distinction lies in the representation of each container individually, as opposed to shipments, which are categorized by the entire shipment. This slight variation allows for meticulous tracking of container-specific data, including details such as delivery dates and last free days.

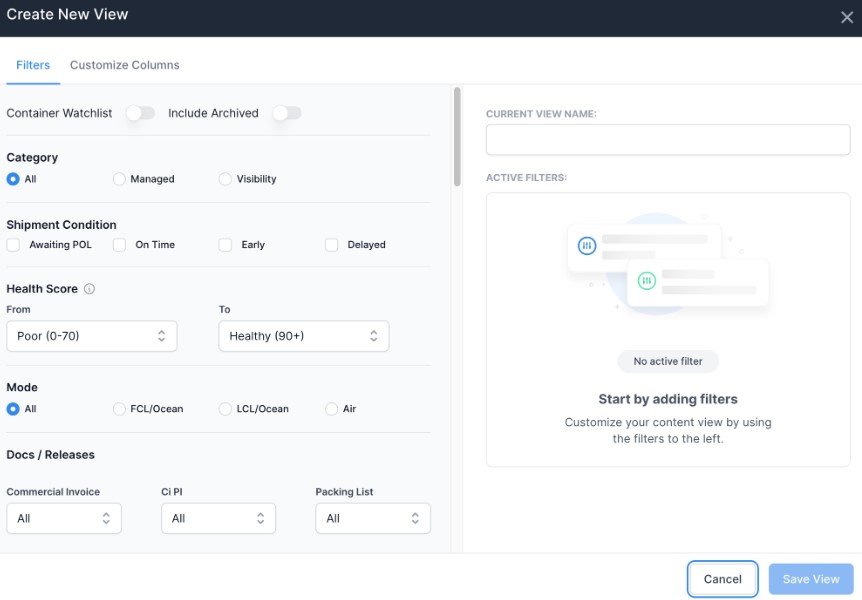
On the left side, you have your Views panel where you are able to create shared custom container views. You have the option to collapse this panel if you don’t wish to view it on your container page.

By selecting Get Started, you will have the ability to start building a custom container view.

Bulk Actions
Within your containers tab, you have the same bulk actions available as you do within your shipments tab. You can utilize the check mark box next to your container number to select whatever containers you would like to perform bulk actions on. From here, the bulk actions menu bar will appear, giving you the various bulk options that you have: Add to watchlist, Create a shipment queue, or Append.

You can create a scheduled report, or export your current container view to CSV format directly from your containers home page.

Filters
You have Filters available on your containers page. To access them, press on Filters, located on the right side of your page.

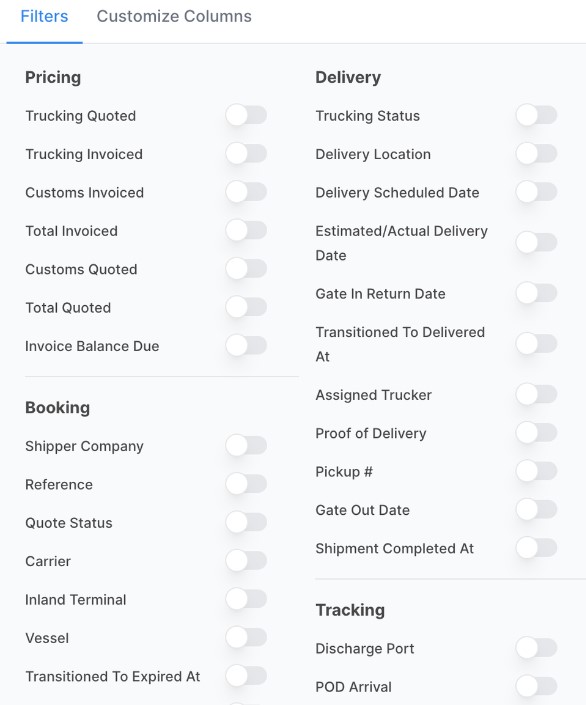
From here, you can browse through the various filter points you have available. You’ll notice that you have some of the same data points available from your shipment overview list, but some of the data points on your containers list are specific to this page.

Once you’ve selected filters to begin building, you can create custom views and scheduled reports, through the same steps as when you’re creating them on your shipment overview page.
Managing your Lifecycle Views
Within your shipments and containers tab, you have the ability to Manage your Lifecycle views. This allows you to select certain lifecycle views to hide from your views column.
To manage your lifecycle views, navigate to your views panel on the left side of your Containers or Shipments screen.

Next, press on the Manage button.

From here, you're able to select specific lifecycles to toggle on or off.

Once you've made your selections, press Apply Changes.

Your lifecycle views panel will now be updated to reflect your selections. The platform will save your selections for the next time you navigate to your Shipments or Containers page.