How to Create a Custom Container View
Table of Contents
Container views play a vital role in streamlining supply chain teams' workflows. The Shippabo platform is designed to offer flexibility and customization, enabling users to create views with relevant data that cater to specific responsibilities or multiple teams' requirements. Managing large lists of shipments can be daunting; hence, Shippabo provides a diverse range of filters and data points to help users generate precise and detailed views of their containers, enhancing overall logistics management and efficiency.
Find Your Container
When you log into the Shippabo platform, you can find all your containers by clicking Containers in the top global navigation bar. You’ll be taken to your containers page, and from there you can create custom views with a few simple steps.

Your Views Panel
Once on your containers page, on the left-hand side you will see your views panel.
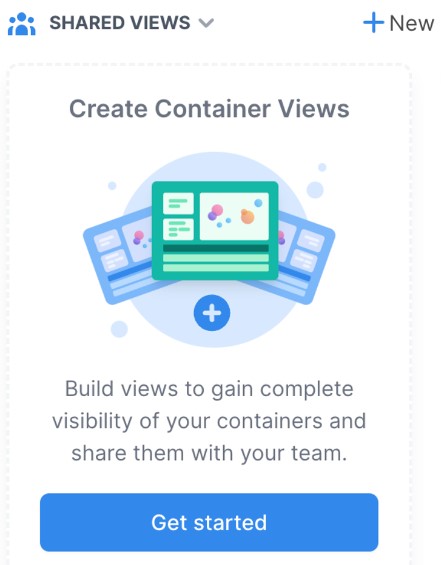
Shared Views are shipment views that have been created for your personal use or to be viewed by multiple team members.
Other Views is where you will find shipment views that have been pre-loaded by the Shippabo team.
New allows you to create a new shipment view.

Creating a New Container View
Click New to bring up the view editor window.
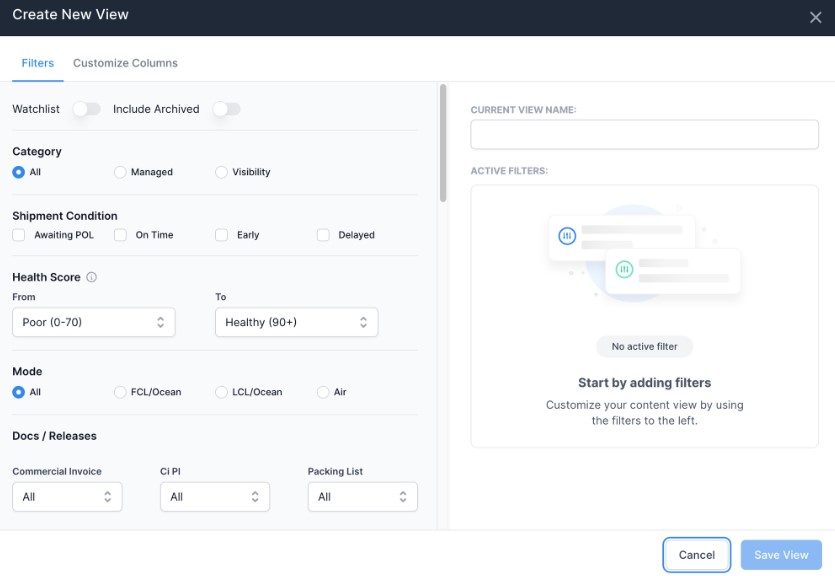
You’ll be prompted to give your new View a name, and from here you can apply all the necessary filters for your container view.
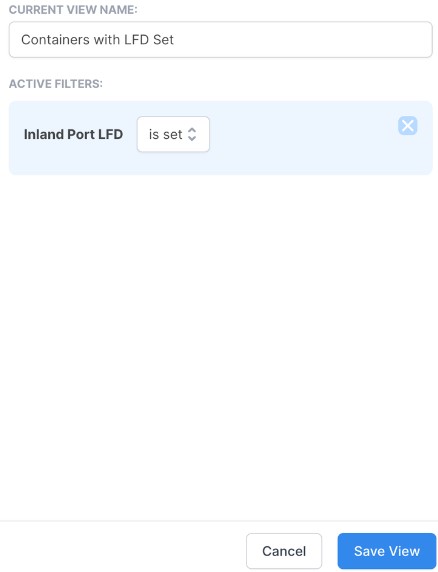
As soon as you start selecting filters from the options on the left side of your screen, they will appear for your easy reference on the right hand side. This is also where you will select the parameters for each filter you’re applying. (For example: Filter selection: Inland Port LFD / Parameter: Is set)
Note: You can easily remove any filter by pressing the X in the right corner.
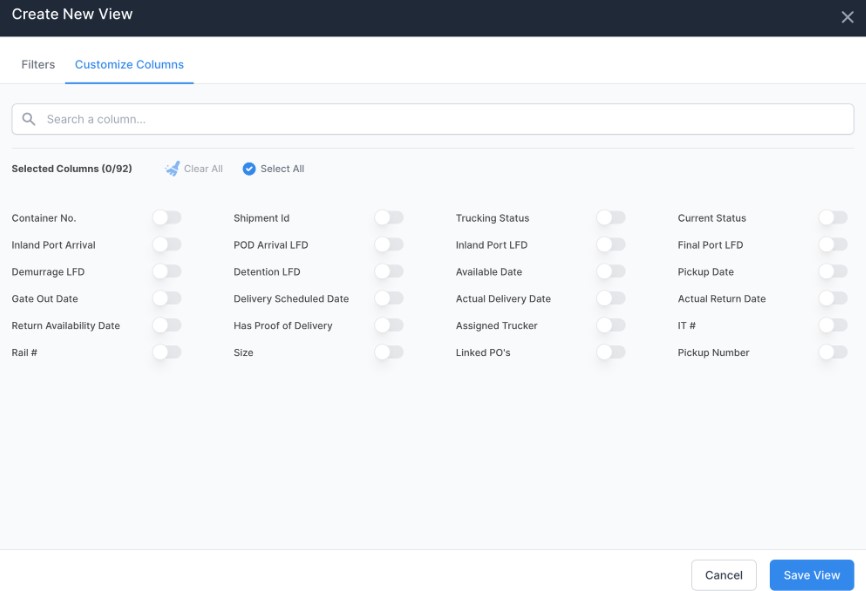
Clicking on Customize Columns will give you the ability to select which columns you want to appear in the list your view will generate. Once you’ve set all your filters and given your view a name, click the Save View button in the bottom right corner. Your container view is now accessible by your whole team under “Shared Views”!
Editing and Deleting Views
Once a view is created, you have the ability to edit it or delete it altogether. To do that, open your Shared Views list and go to the list you want to change. Hover over it and you’ll see the Edit button appear.
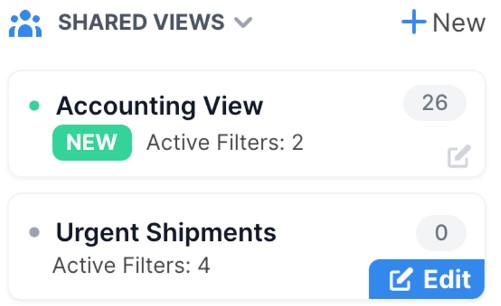
Click Edit to enter the view and change what you need to. Once you’re satisfied with your edits, press Apply Changes.
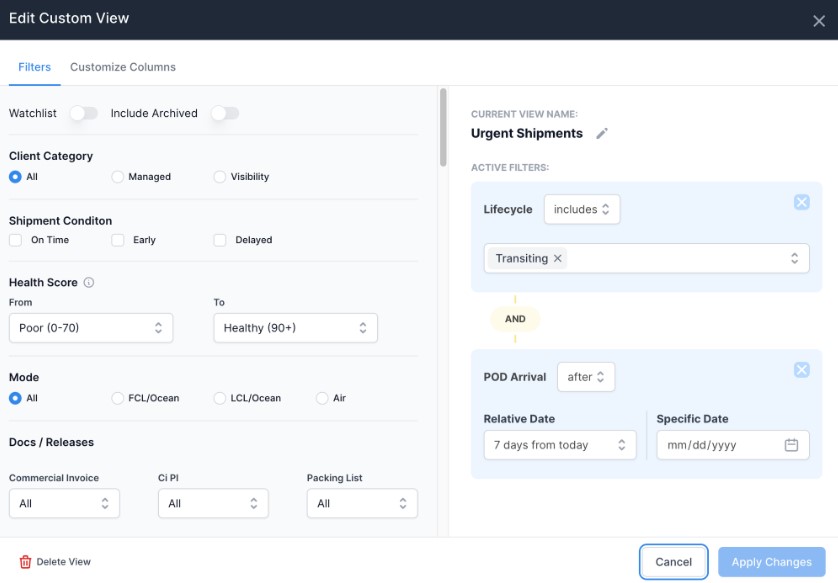
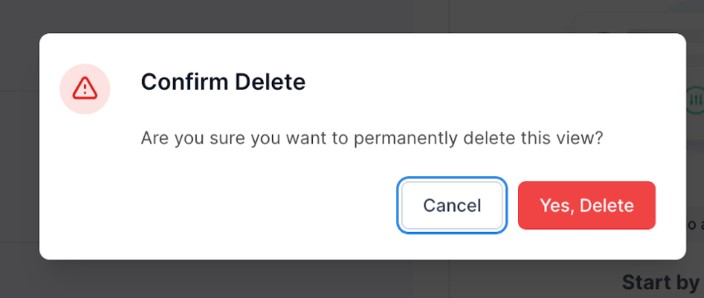
You’ll also see the option to delete the view entirely in the bottom left. Clicking Delete View will cause a prompt to appear to confirm you want to remove that particular view. Click Yes, Delete to confirm or Cancel if you have changed your mind or clicked the delete button by mistake.
Another way to Edit your Custom Container View
If you have your existing custom view open, and make changes through your container list rather than through your “edit custom view”- you can also update your view by pressing on Save this View.

Please note: If you make changes on an existing shared custom view, it will override the previous view for everyone on your team who utilizes it. Please be sure before you override an existing view, as it can not be undone! If you’re unsure, it’s safest to create a new custom view.