How to Schedule a Report
Table of Contents
Automating reports is essential for efficient collaboration among teams and partners, eliminating the need to manually share spreadsheets and constantly verify recipient lists. Shippabo's Schedule Report feature empowers users to generate and distribute tailored reports, ensuring the right stakeholders receive the right data at the right time. Let’s overview how to set up automated reports & the various types of reports you can generate!
The following guide offers a brief overview of the process to create and automate your reports.
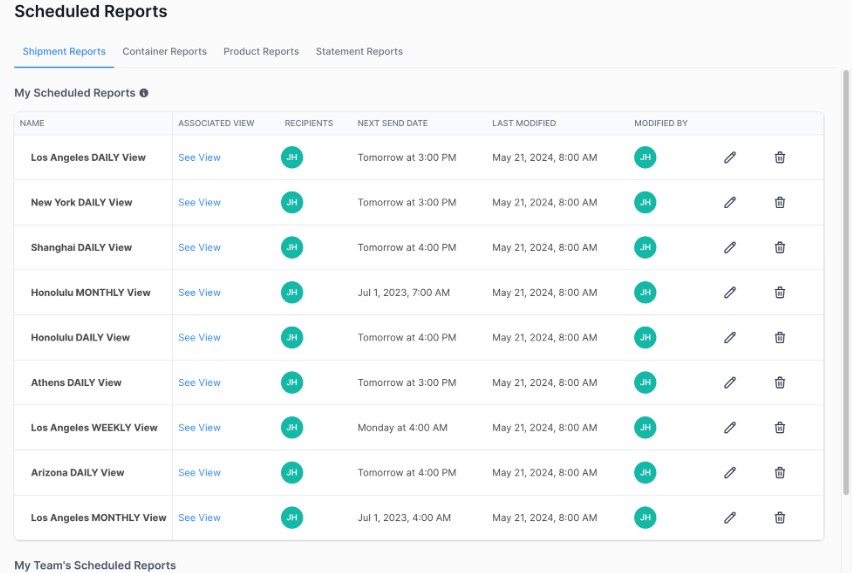
To review the reports you have already configured for distribution, click Insights in the top navigation menu and subsequently select Scheduled Reports.

Right away, you’ll notice that you have a few different types of scheduled reports you can create, originating from your Shipments list, Containers list, Statements list, and Product list.
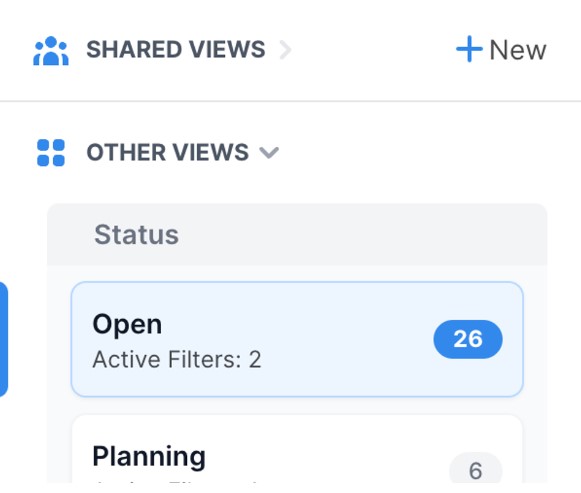
To set up a report for your shipments, click on the Shipment tab after logging into the Shippabo platform. From there, begin building your report by selecting the “+ New” Icon in your Views panel, on the left hand side.
From here, you’ll be prompted to give your view a name, as well as adding filter selections to it.
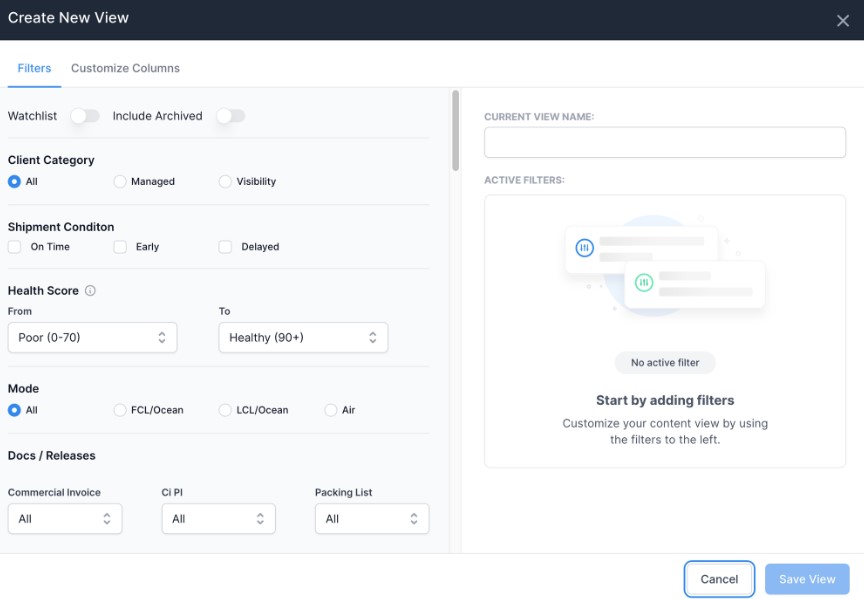
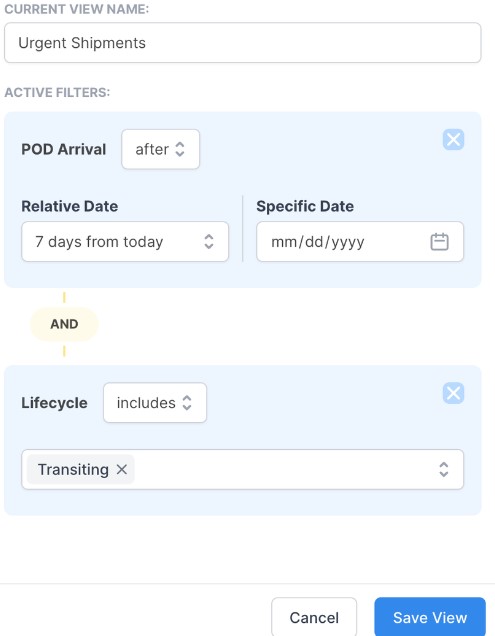
Once you’ve made your selections, press “Save View”.
Now your view is available within your Shared Views panel, on the left side of your screen!
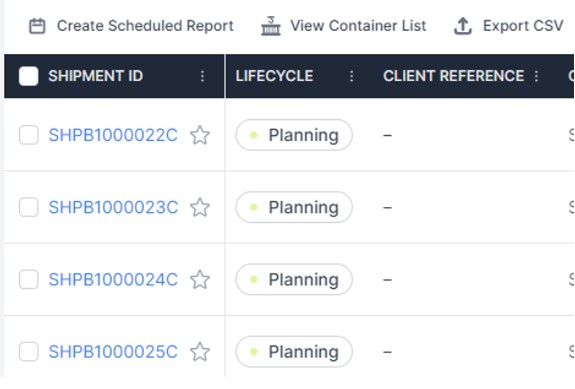
From here, you can select “Create Scheduled Report”.

Doing so will prompt you to enter your desired report name, recipients and frequency. Once you press “Schedule”, you’re all set!
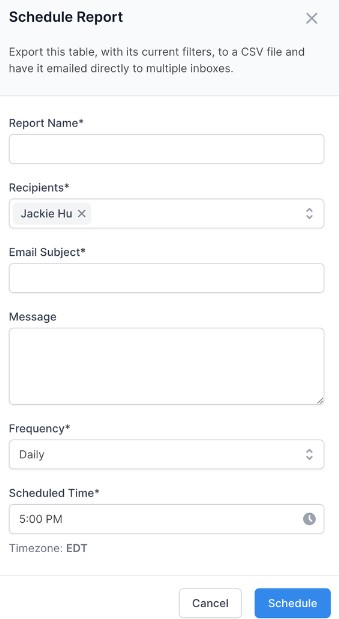
You can also quickly create a scheduled report from an existing view by pressing Create Scheduled Report:
All of your team’s scheduled reports are available to view and edit within your Insights tab.
The functionality of creating a scheduled report is consistent between your shipments, containers, products and statements tab.
Building a Container Report
To create a report for containers, first click on Containers in the top navigational bar.
Once on your Containers page, click on Filters to bring up the list of criteria to choose from and make your selections.

Scheduling a Container Report
Once you've selected the criteria for the report, click on Create Scheduled Report.
From there, a prompt will appear. Fill in all the necessary information and click Schedule once you're ready to create the report.
This report will automatically send depending on the frequency you've selected.
We recommend you schedule a regular time to check on your scheduled reports and clean any off the list you no longer need.
Building a Statement Report
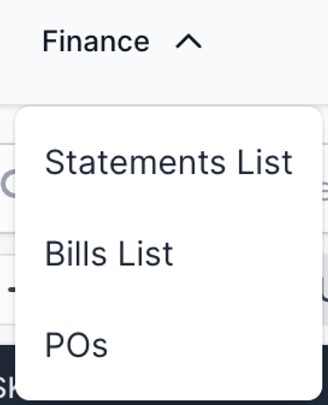
In order to generate a report for your products, click on Finance in the top navigational menu. On the dropdown menu, select Statements List.
You will be taken to a page showing your list of statements. To create a report based on specific criteria, make a selection from the options on the right.
Scheduling a Statement Report
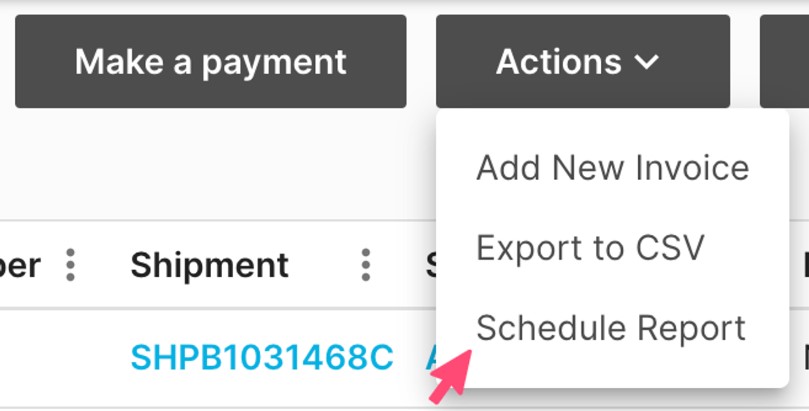
Once you've selected the criteria for the report, click on the Actions button and select Schedule Report.
From there, a prompt will appear. Fill in all the necessary information and click Schedule once you're ready to create the report.
This report will automatically send depending on the frequency you've selected.
We recommend you schedule a regular time to check on your scheduled reports and clean any off the list you no longer need.
