How to Create a New Quote Request

Written by Bonita Fowlersmith
Updated at July 27th, 2024
Table of Contents
Creating and monitoring shipments on the Shippabo platform is a seamless and straightforward process, which can be effortlessly managed directly from your account's homepage. This guide will walk you through the simple steps to initiate a shipment.
Initiating your Booking
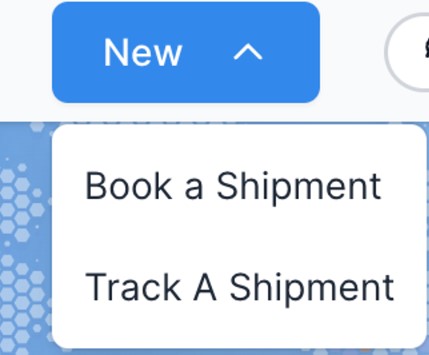
First, select “New” from your top navigation bar, and then choose “Book a Shipment”.
You have three options available at the top of your screen.

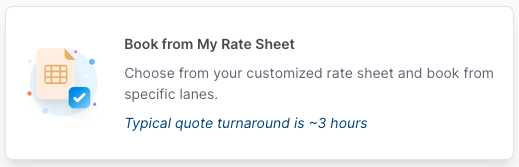
Book from my Rate Sheet: Allows you to select specific lanes from your rate sheet that you would like to book a shipment on.
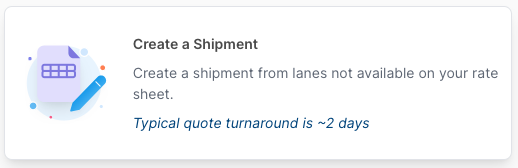
Create a Shipment: This option is ideal for lanes that are not currently on your rate sheet, in which your cargo will be ready to ship within the next 3 weeks, and all the cargo details are already known for us to provide a quote within aprox. 2 days.
Plan Future Shipments: This option is ideal if you have minimal details for your shipment, allowing you to assign an expected cargo ready date of 3 weeks or later.
Booking from your Rate Sheet
Your rate sheet is updated by the Shippabo team to keep you informed of the most recent rates that are valid for your designated shipping lanes. Booking a shipment directly from your rate sheet saves you time in the booking process. This guide will walk you through the steps of booking a shipment from your rate sheet.
Video Guide on how to Book from your Rate Sheet:
Step by Step Guide on how to Book from your Rate Sheet:
Book from my Rate Sheet allows you to choose from lanes on your customized rate sheet.
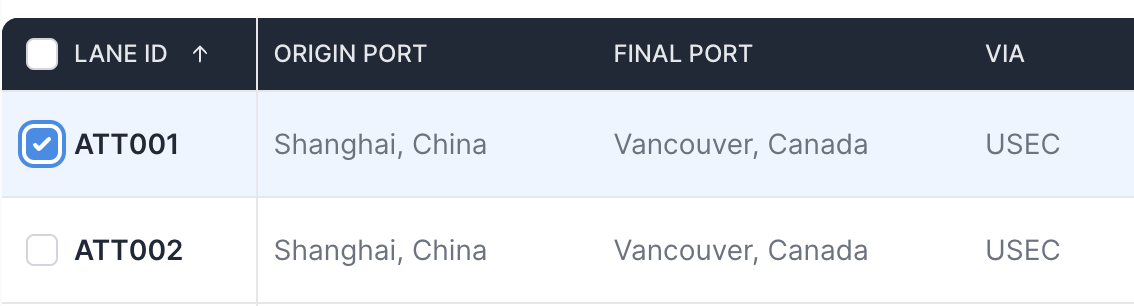
You'll first be presented with the current rates within your rate sheet. You'll be presented with specific details for each lane, including the Lane ID, origin and final ports, validity dates, carrier, and rate information.
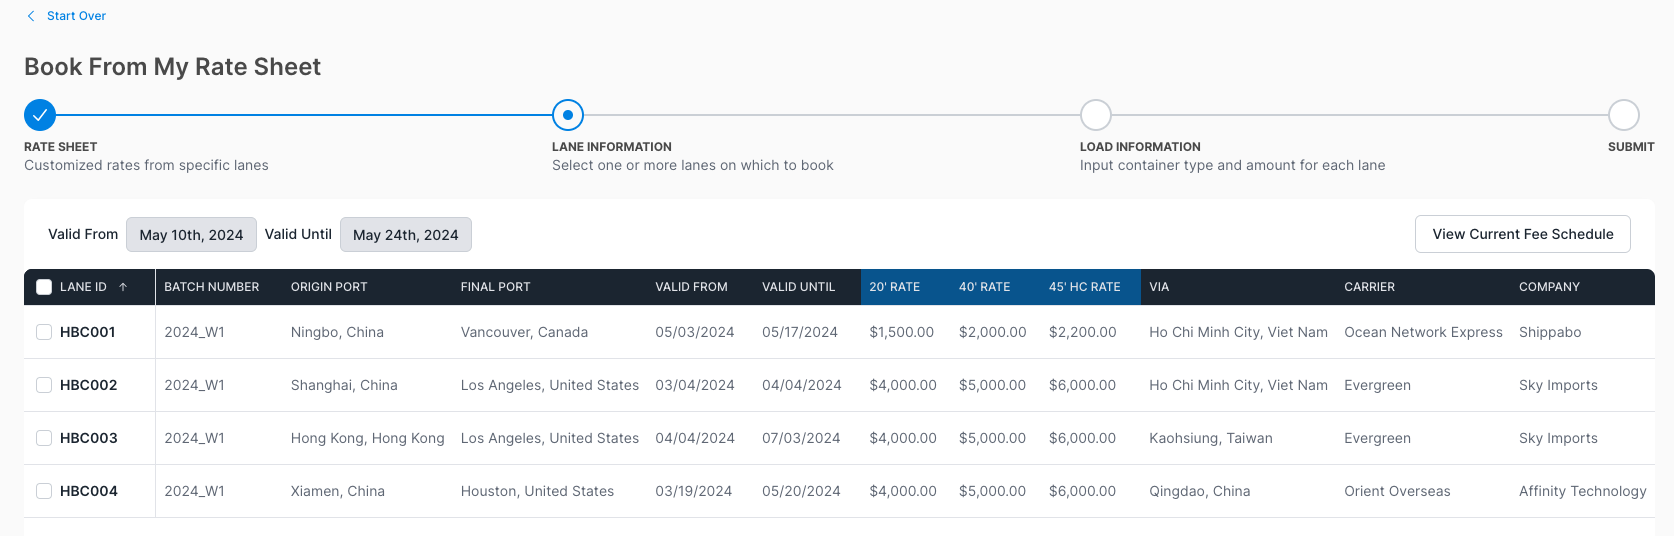
As you navigate through your rate sheet booking option, you'll notice that you have the option to “View current Fee Schedule”. Pressing this will open up a new tab with Shippabo's current fee schedule.
Step 1: Rate Sheet
You can utilize the check box to select which rate you'd like to proceed with.
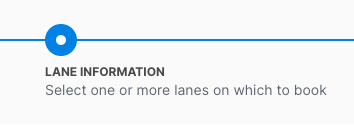
Step 2: Lane Information
Once you select your desired lane, the milestone “Lane Information” at the top of your screen will automatically complete.
Once you've made your selection, press Continue Request.
Step 3: Load Information
You'll now be prompted to enter the container specific details for your shipment, such as:
Cargo Ready Date, Quantity of Containers, Container Sizes

If you would like to add a second request for the same lane that has different cargo details, such as cargo ready date, or container size, you can utilize the Copy icon on the right side, next to the trash icon. Selecting this will duplicate the current lane request and allow you to edit it as needed.

You'll see the specific details of the lane that you selected on the previous step.

Once you've entered the needed information, you can select Submit Request.
You will now receive a notice that your shipment request has successfully been submitted.
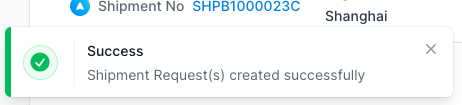
Your shipment will be assigned a Shippabo ID number, and will appear on your screen within the Shipment Requests section.
Creating a Standalone Shipment
Within the Shippabo platform, you can effortlessly initiate shipments with our enhanced booking workflow. In this guide, we will overview the steps to create a standalone shipment request.
Video Guide on how to create a standalone shipment:
Step by Step Guide on how to create a standalone shipment:
The create a shipment option allows you to create a shipment from lanes not available on your rate sheet.
Step 1: Rate Request
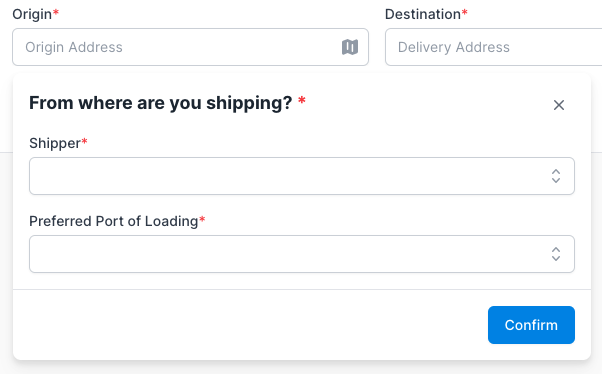
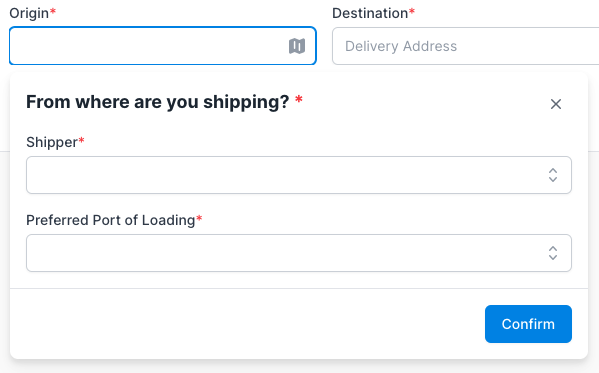
You'll be prompted to enter some basic details for your shipment, such as:
Origin: Shipper & Port of Loading
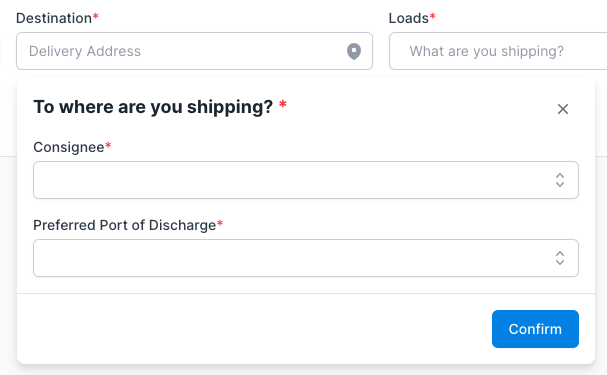
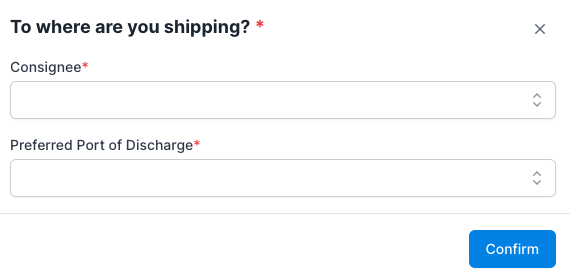
Destination: Consignee & Port of Discharge
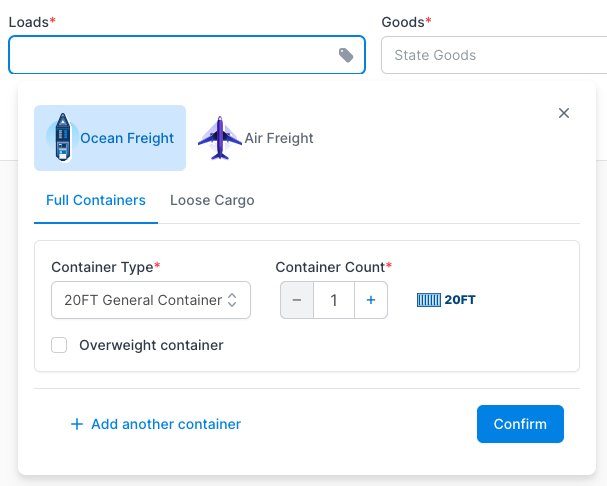
Loads: Ocean or Air Freight, Cargo Details
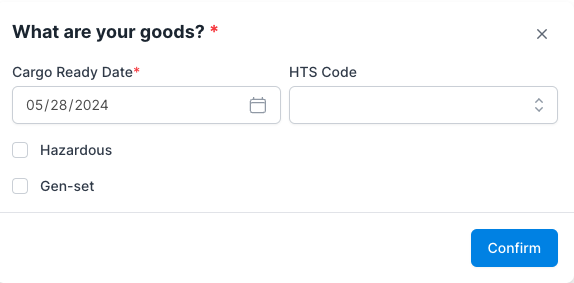
Goods: Cargo Ready Date, HTS Code, and Any other relevant details
Once you've entered all of the needed information, press Continue.
Step 2: Shipment Information
You'll now be prompted to confirm if you have any additional information for your shipment, such as Incoterms, Pickup and delivery locations, Preferred delivery window, etc.
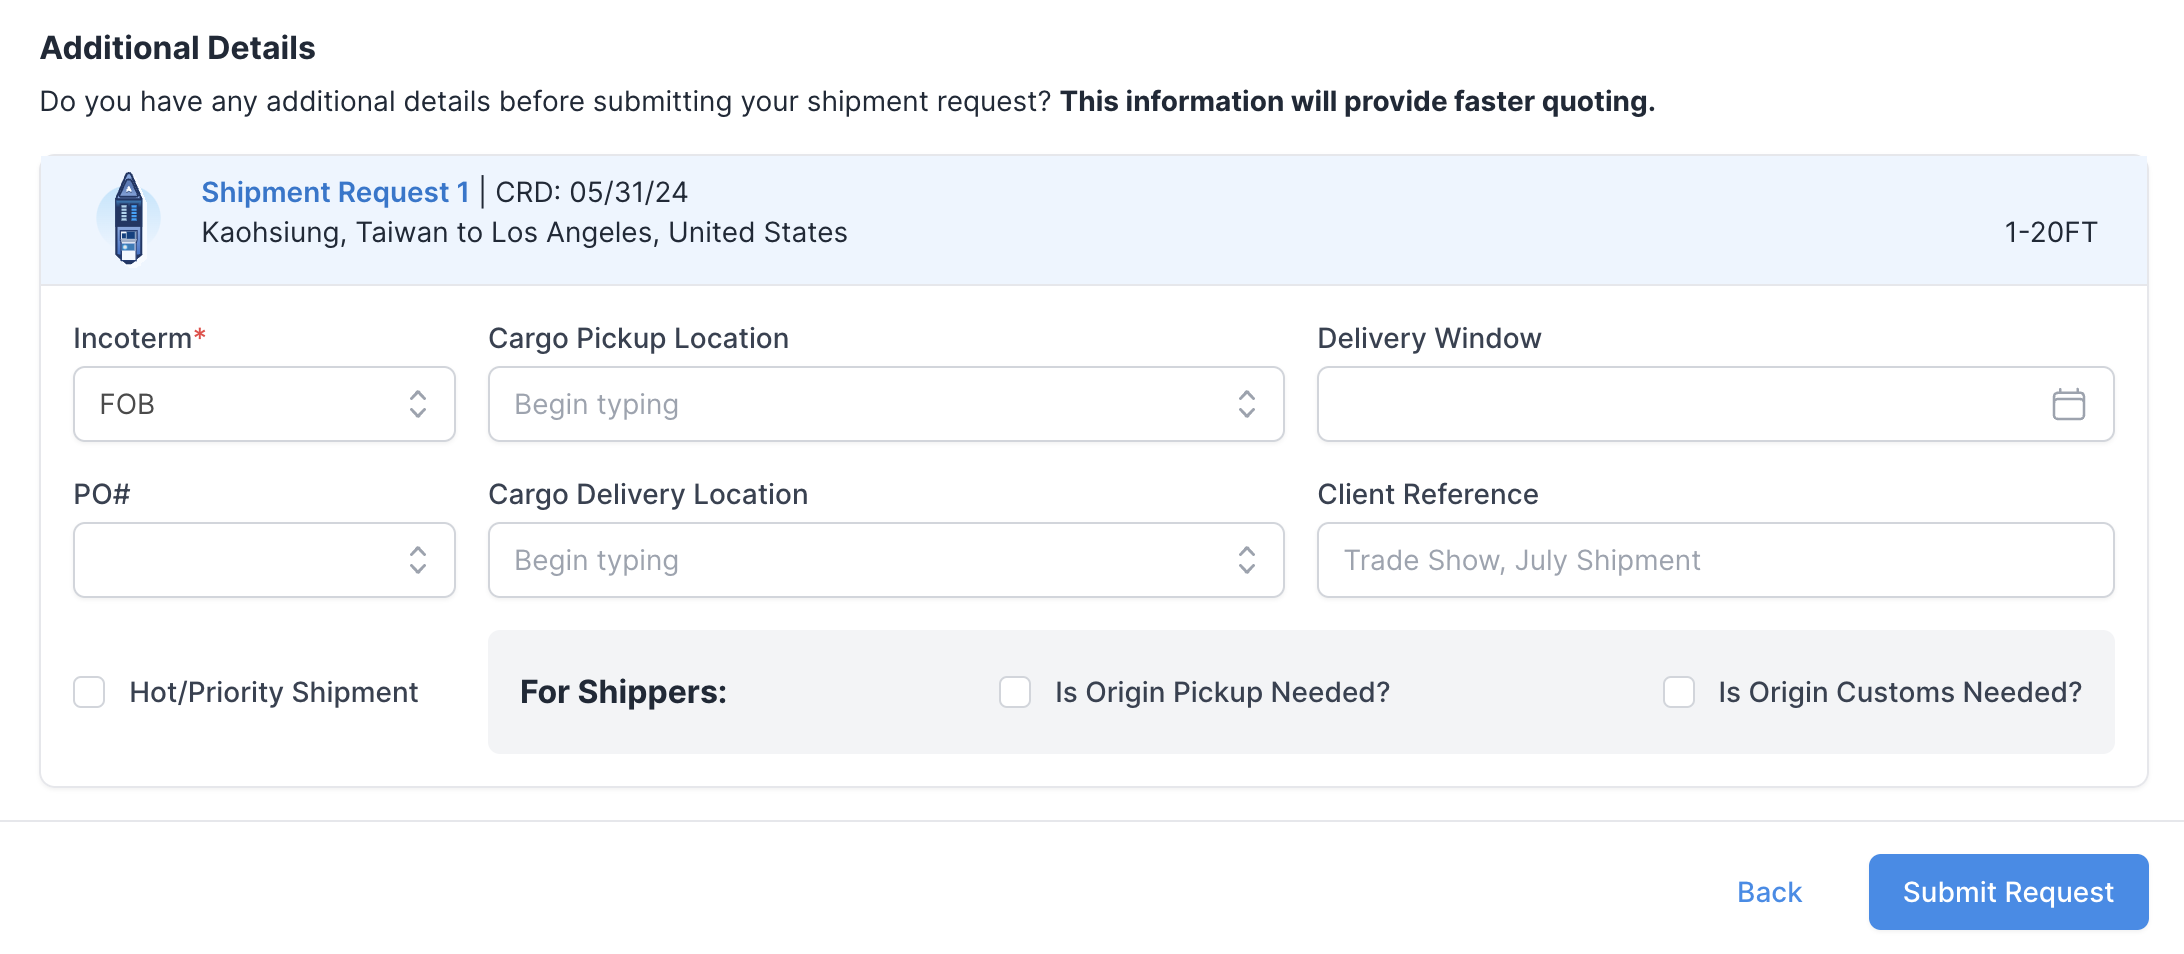
Once you've made your selections, press Submit Request!

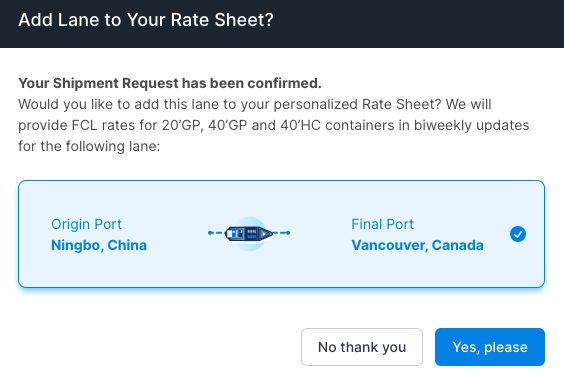
You'll now see a notice letting you know that you've successfully created your shipment request.

You will also be asked if you wish to add this lane to your rate sheet, to receive regular insight into the rate for that particular lane.
Your shipment will be assigned a Shippabo ID number, and will appear on your screen within the Shipment Requests section.
Plan a Shipment in Advance
Planning your shipments in advance is a great way to stay organized and ensure all of your upcoming PO's are accounted for. The Shippabo platform enables you to effortlessly store all of your future shipments. This guide will walk you through how to plan shipments in advance.
Video Guide on how to plan a shipment in advance:
Step by Step Guide on how to plan a shipment in advance:
You can select Plan Future Shipments to plan shipments in advance. 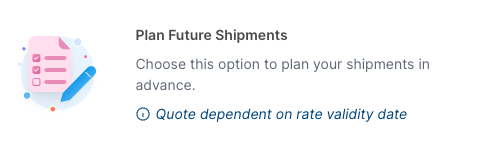
Step 1: Rate Request
You'll be prompted to enter various details for your shipment, such as:
Origin: Shipper & Port of Loading
Destination: Consignee & Port of Discharge
Step 2: Shipment Information
Cargo Details: Ready Date, Container Size and Quantity

Once you've entered the details, the milestone for Shipment Information will automatically complete.
You can now select Submit Planning Request.
You'll receive a notice that you've successfully created your shipment.

Your shipment will be assigned a Shippabo ID number, and will appear on your screen within the Shipment Requests section.